M3//A2 Q3.3 Graphics and Titles Quiz
- Due Apr 21, 2025 at 9pm
- Points 10
- Questions 10
- Available until Apr 25, 2025 at 9pm
- Time Limit None
- Allowed Attempts Unlimited
Instructions
Add impact with graphics
Create eye-catching animated graphics and titles to connect with your audience.

How do you use titles and graphics?
When you want to share information with your audience and hold their attention, graphics and titles can be the most effective way to do it. Perhaps you’re announcing a new channel, or describing a location for a travel-themed vlog. Including text information onscreen and adding movement with animated graphics can be an engaging way to inform your audience.
Graphics can help your audience understand complex ideas. There are several ways to use them:
-
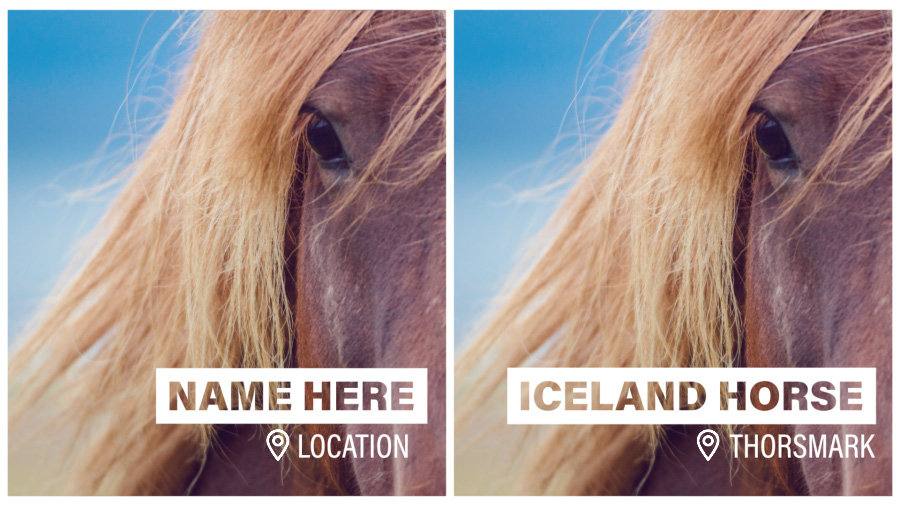
Lower thirds are often used to introduce a speaker’s name and role. They can also be used to introduce the names of locations, products, and events.
-
Titles can confirm specific details that you share on camera. They can add detail, and direct attention to further information.
-
Animated graphics add visual interest and keep your audience engaged. A familiar opening animation helps your audience recognize your content.
Create dynamic graphic designs
In the Adobe Premiere Pro Essential Graphics panel, you’ll find lots of prebuilt motion graphics templates that you can adjust for your project and brand. Motion graphics templates can include graphics, text, and preset animation.
The Essential Graphics panel offers a complete set of graphic — and title — creation tools. You can even create your own personalized motion graphics with animation and multiple layers.
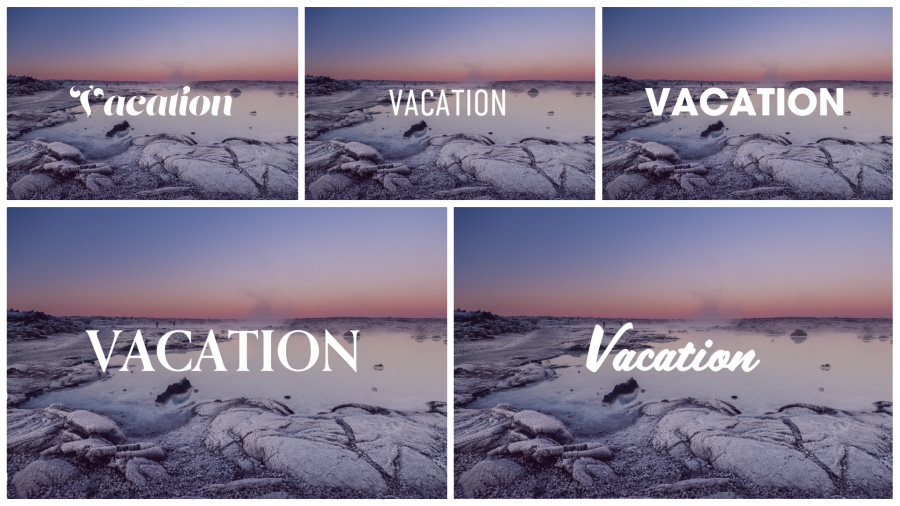
Work your fonts
The font you choose when designing a title can have an enormous impact on the mood it conveys. Adobe Creative Cloud includes thousands of font options to choose from. You can access them in the Essential Graphics panel while creating or editing your graphics.
Add graphics to libraries to use them again
Creative Cloud Libraries can store graphics that sync automatically wherever you log in with your Creative Cloud account. You can create and browse libraries in the Essential Graphics panel. You might create a library for the graphics you’ll use on a particular channel so you have a one-stop shop with the right designs to use for your next piece of content.
Titles and graphics in Premiere Pro
Premiere Pro has comprehensive graphic-creation tools. You can adapt a template or make new designs using the text and shape tools in the Essential Graphics panel. Start with a template and explore the settings used to create it — this is a great way to learn how to create your own advanced motion graphics.
Create title graphics
Easily create titles directly on your video using the Type tool in the Essential Graphics panel in Adobe Premiere Pro.
Open the Graphics workspace
With your sequence already open in the Timeline panel, open the Graphic Templates panel by choosing Window > Graphic Templates from the application menu.

Select a Motion Graphics template
In the Graphic Templates panel, browse the available templates under two tabs: My Templates, for those saved locally on your computer, and Adobe Stock, which offers thousands of additional downloadable templates.
Once you've selected a Motion Graphics template, drag it onto a video track in the timeline. It will appear as a clip with a default duration. If the template includes transparency, place it on a video track above the clip you want to display underneath.
Note: Some of the templates in the Adobe Stock tab require an additional purchase. To filter the templates shown, choose from the filter options located above the thumbnails.

Move and trim Motion Graphics templates
In the timeline, drag the Motion Graphics template until it’s in the right place. Then drag the end in or out to adjust the length of the clip. You can also add a transition to Motion Graphics templates to further refine them.

Copy the motion graphic throughout your project
To add graphics in the same style throughout your project, Alt-drag (Windows) or Option-drag (macOS) the clip to duplicate it elsewhere in your sequence.

Edit the template text
Move the playhead to the middle of the Motion Graphics template, you can see it in the Program Monitor. Then, make sure the clip is selected in your sequence. In the toolbar, choose the Type tool or use the keyboard shortcut T and click once on the sample text. You will see a red bounding box around the text. Now you can edit the displayed text, repeating this for each title in your project.

Edit the template style
In the toolbar, choose the Selection tool (V) and click once on the text in the Program Monitor so that you see a blue bounding box. Open the Properties panel by choosing Window > Properties from the application menu. Then, in the Text section, change the typeface to a different font or font style. Adjust the font size slider to increase or decrease the size. Change other text properties as you wish.

Create a Linked style
When you’re satisfied with your text styling, scroll down to the Linked style section. Click the + icon and choose Create style. Give the new Linked style a name and click OK.

Use your linked style
You can select other title clips in your sequence and apply the style you just created by choosing it in the Linked style section of the Properties panel. Move the playhead to the middle of the next title and select the text you want to change in the program monitor. Scroll down to the Linked style section and choose the style you just created. All the text properties you changed before saving the style will apply to the selected text.
